
Write instructions
WRITE INSTRUCTIONS
How to write the operating system’s .img file to a micro-SD card (8GB minimum), suitable for booting a Raspberry Pi microcomputer. A good SDHC class 10 card is highly recommended.
1. Extract the .img file from the downloaded ZIP archive.
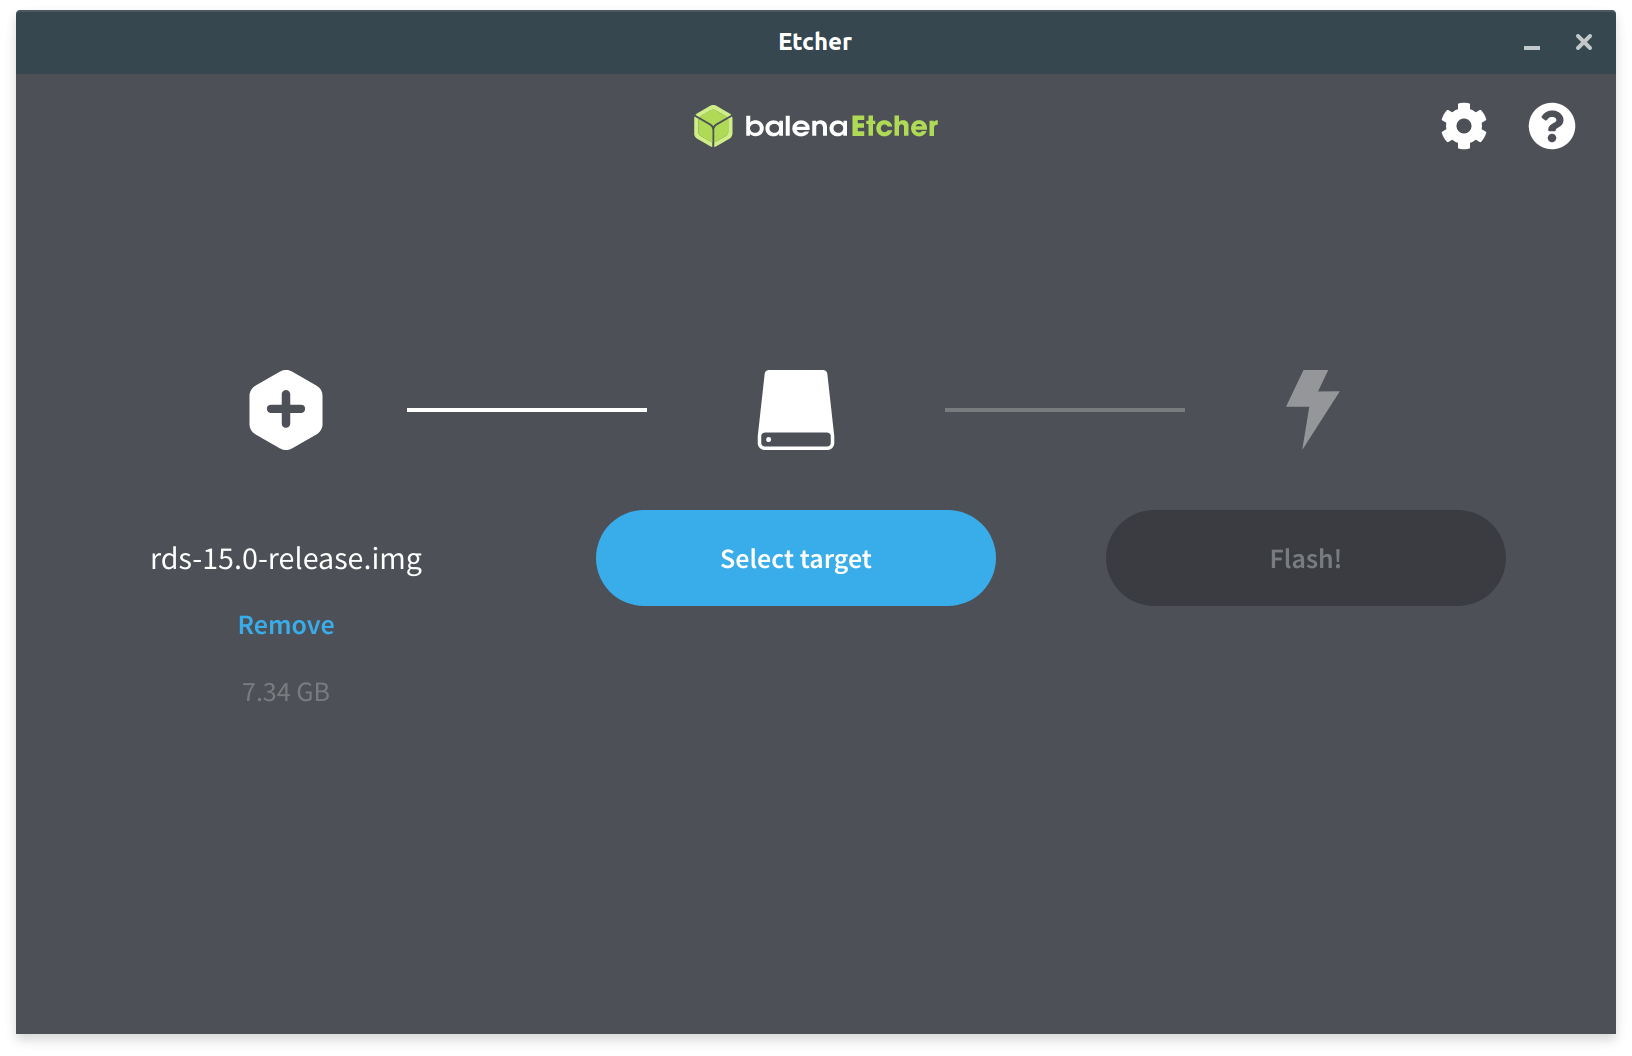
2. Write the image by the use of Etcher. Make use of a micro-SD to USB key adapter for the write process.
Raspberry Digital Signage on the Pi 4 can also boot from a USB key, so the previous steps can be performed against a USB key instead of a micro-SD card.
Linux operating system specific
Linux users can also make use of dd.
Run all the following commands as root or with sudo in a terminal emulator:
- plug the SD card/USB key into your PC;
- use
fdisk -lfor locating the device file, for example: /dev/sdx (change for your case); - it’s better to unmount the auto-mounted device’s partitions, if any (
umount /dev/sdx1,umount /dev/sdx2, …); - finally write the image:
dd if=path/to/imageFile.img of=/dev/sdx bs=50M - please note that the dd command must refer to the whole disk: do not use /dev/sdx1 but /dev/sdx, as an example.
First boot
Once you have successfully written the IMG file to the micro-SD/USB key, plug the device into the R-Pi and reboot the microcomputer. When booting from a USB key (Pi 4 only), remove the SD card before.
Notes
- See a coloured square/lighting bolt near the top right corner of the screen? Please have a look at the FAQ.
- Louis DeRobertis reports that some HDMI to VGA converters do not give enough power to the screen – it will remain blank.
- Never halt or reboot the Pi by powering it off (some Raspberry Pi boards are reported to be prone to filesystem corruption); use SSH instead (with the
haltorrebootcommands).You can of course schedule a cronjob which will turn off or reboot the Pi gracefully as well.
root